
WooCommerce has now implemented native Brands support in version 9.6 released 20 January 2025.
Smart-IT implemented changes to the way Smart-IT works with brands to accommodate these changes on 11 February 2025.
To setup Brands in Smart-IT navigate to Stock Items, click on the Extra Drop-down menu, hover over the Tables Sub-menu and click on Brands.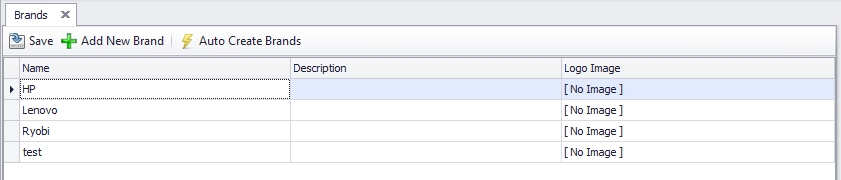
If you have existing brands setup in Smart-IT use the Auto Create Brands button to populate Product brands on your items.
You can use the Add New Brand button to add a Additional Brand or you can click on one of the Fields to edit it.
Name, is the name of the Brand example Nestlé.
Description, You can add anything here but my recommendation is to add the slogan of the Brand example: Good Food, Good Life.
Logo Image, You can click on this filed to bring up the browse box.
Select out the logo you want to add. Remember as this will go to web it is recommended to use a smaller size image, no more than 400px wide is needed for this purpose and jpg will be the preferred file format. It is also recommended to try to keep a consistent width of the brands to have better consistency on your website.
On your individual items you can navigate to the Additional Info tab and use the magnifier icon to select out one of the Brands.
You can also use the Bulk Change in the Extended Item Lookup screen to change the items in Bulk.
You can use a widget to display the content.
We have such a widget available for purchase. Please contact us for pricing.
Please contact us if you require any further assistance.