Last Updated on July 15, 2020 by Madelein Wolfaardt
The SI+ Bank Manager add-on module eliminates the process of manually capturing transactions from your bank statement.
Reconciling your bank account has never been quicker or easier.

Last Updated on July 15, 2020 by Madelein Wolfaardt
The SI+ Bank Manager add-on module eliminates the process of manually capturing transactions from your bank statement.
Reconciling your bank account has never been quicker or easier.
Go to Ledger> Bank Manager
Step 1:
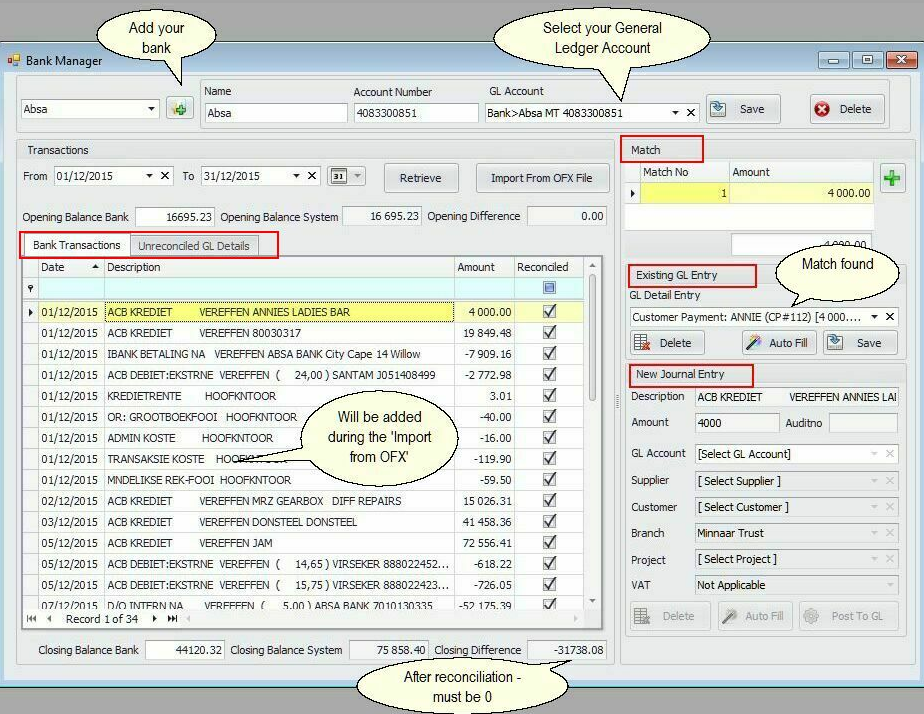
Add your Bank and bank details.
Select your general ledger bank account.
Click Save.
Step 2:
Import your bank OFX file.
Your bank statement transactions will now populate the Bank Transactions grid as well as the date range, bank opening, and closing balances.
Step 1:
Select a transaction to work within the grid on the left.
Step 2:
You either need to select an existing GL entry or create one.
Select an existing entry – e.g the first line displaying R4000.
If you had previously posted the journal the system will find the match (based on the date and amount) and the data will be displayed in the Existing GL Entry form, see image below.
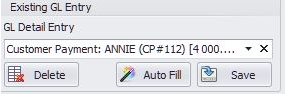
If a match is found the Post to GL button will be greyed out, preventing you from posting it twice.
Click the Save button (image above) to save the match and reconcile the transaction.
OR
If the entry does not exist because you did not post it beforehand, the New Journal Entry form can be used to post the entry.
– Select the GL Account, if it is a cash book posting
– or the Customer field (![]() ) if it is for a customer payment
) if it is for a customer payment
– or Supplier field (![]() ) if it is for a supplier payment.
) if it is for a supplier payment.
Click the Post To GL button to post the transaction. The next time the same transaction appears on your bank statement the account will automatically be selected.
Step 3:
After clicking Save or clicking Post To GL the transaction will change to Reconciled.
The transaction will now be marked as reconciled and removed from the Unreconciled GL Details tab.
Please contact us for info about the bank manager or have a look at our help file
http://www.smart-it.co.za/help/bank_manager2.htm